As someone who has been riding bikes for years, I know firsthand how important it is to make sure your bike has reflectors in all the right places.
Not only is it usually required by law, but reflectors can truly save your life by making you more visible to drivers and pedestrians.
In this article, I’ll walk through everything you need to know about properly outfitting your bike with reflectors.
We’ll go over the best placement for reflectors on all types of bikes, from road bikes to mountain bikes.
I’ll also share my tips on picking the right reflector colors and styles.
Let’s get rolling!
Table of Contents
The first rule of thumb when putting reflectors on a bike is visibility!
You want them to stand out from multiple angles so drivers and pedestrians can easily see you coming from the front, back, and sides.
Here are the key spots where reflectors need to be installed on any standard bike:
I also recommend wearing reflective tape or straps on your ankles, wrists, helmet, and even backpack if you ride at night.
The more reflectors the better!
The reflector placement on a mountain bike is very similar to a standard bike.
The key difference is that some reflectors may need to be more heavy-duty on a mountain bike to survive rugged off-road riding.
Here are my top tips for reflectors on a mountain bike:
And as always, use reflective tape and wearable reflectors to enhance visibility when mountain biking.
Riding downhill fast, reflectors are a must!
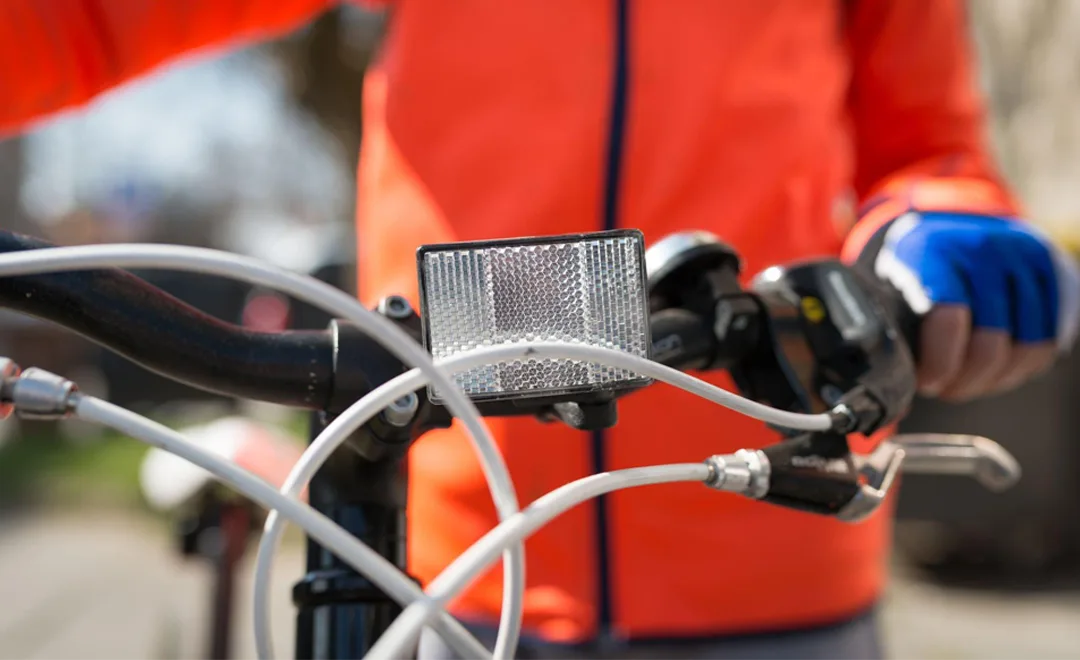
Road bikes have a sleek, lightweight design optimized for speed.
So reflector placement on a road bike is a bit more limited than other bike types.
Here’s how I outfit my road bike reflectors while keeping aerodynamics in mind:
Lastly, road cyclists should definitely use ankle/wrist straps, reflective tape on helmets and bright jerseys when riding at night or in low light.
Being visible from the sides and rear is crucial when riding fast on open roads.
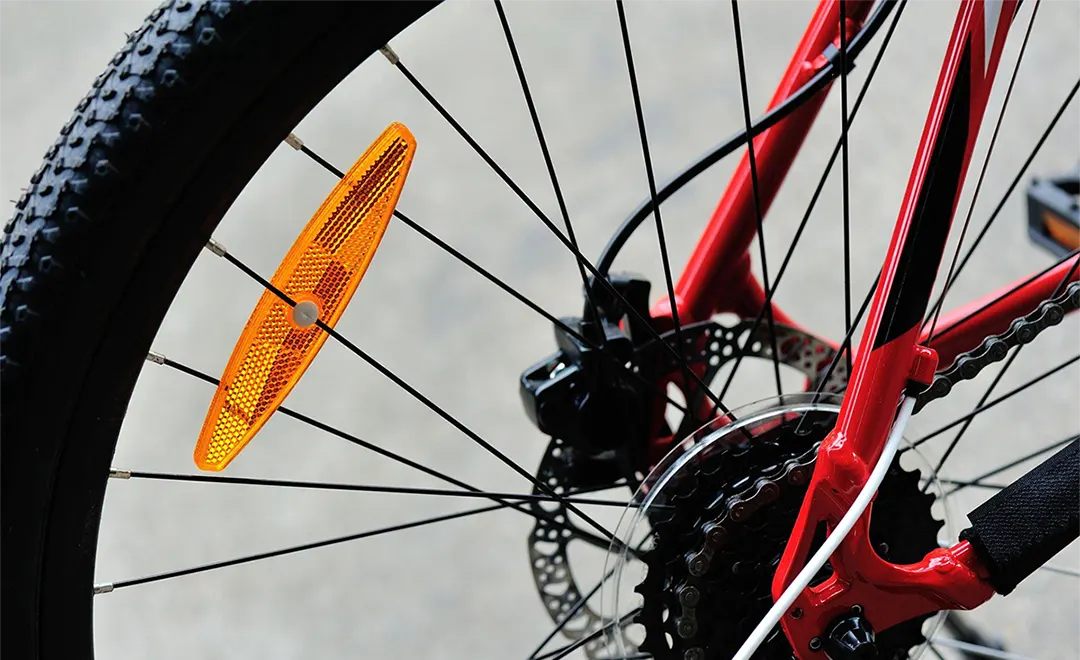
Picking the right spoke reflectors and placing them correctly on each wheel is important for rider safety.
Here are my tips:
Proper spoke reflector placement is easy to overlook, but it really boosts your visibility and safety as bikes approach from the side.
Follow these tips and light up your wheels!
When choosing bike reflectors, you’ll come across both white and red color options.
So which is better for visibility and safety?
Here’s my take:
White: Excellent for the front of the bike.
The white color stands out clearly against dark surroundings and looks like a headlight coming toward the viewer.
Red: Ideal for the rear.
Red color is universally associated with the back of vehicles.
It grabs attention as the classic “tail light” when approaching from behind.
Visibility Range: White often reflects farther and wider since our eyes are more sensitive to white light.
So white wins slightly for max visibility.
Night vs Day: For riding in low light and darkness, white and red are both highly visible colors.
During daylight, white reflects somewhat better while red can look darker.
Legal Requirements: In the US, a white front reflector and red rear reflector are legally mandated on bikes in some places.
So having both colors covered is important.
My recommendation is to use quality white and red bike reflectors in the proper front and rear positions.
This provides the maximum visibility and meets legal standards.
For added safety, use additional yellow/white side reflectors to reflect from all angles.
Ride on!
Well there you have it, my complete guide to picking the best reflector spots for any kind of bike.
Take the time to properly outfit your two-wheeler and you’ll be so much safer rolling down the streets and trails.
Reflectors may seem basic, but they provide a huge visibility boost in low-light conditions.
Don’t let their simplicity fool you. Those little reflectors could save your life!
I hope these tips give you the confidence to install reflectors like a pro.
If I had to leave you with just one final piece of advice it would be: When in doubt, add more reflectors!
It’s hard to be too visible.
Thanks for reading and enjoy many safe, reflective rides ahead. Remember to check those reflectors regularly and replace any that go missing.
Give a wave if you pass me on the road!